Table of Contents
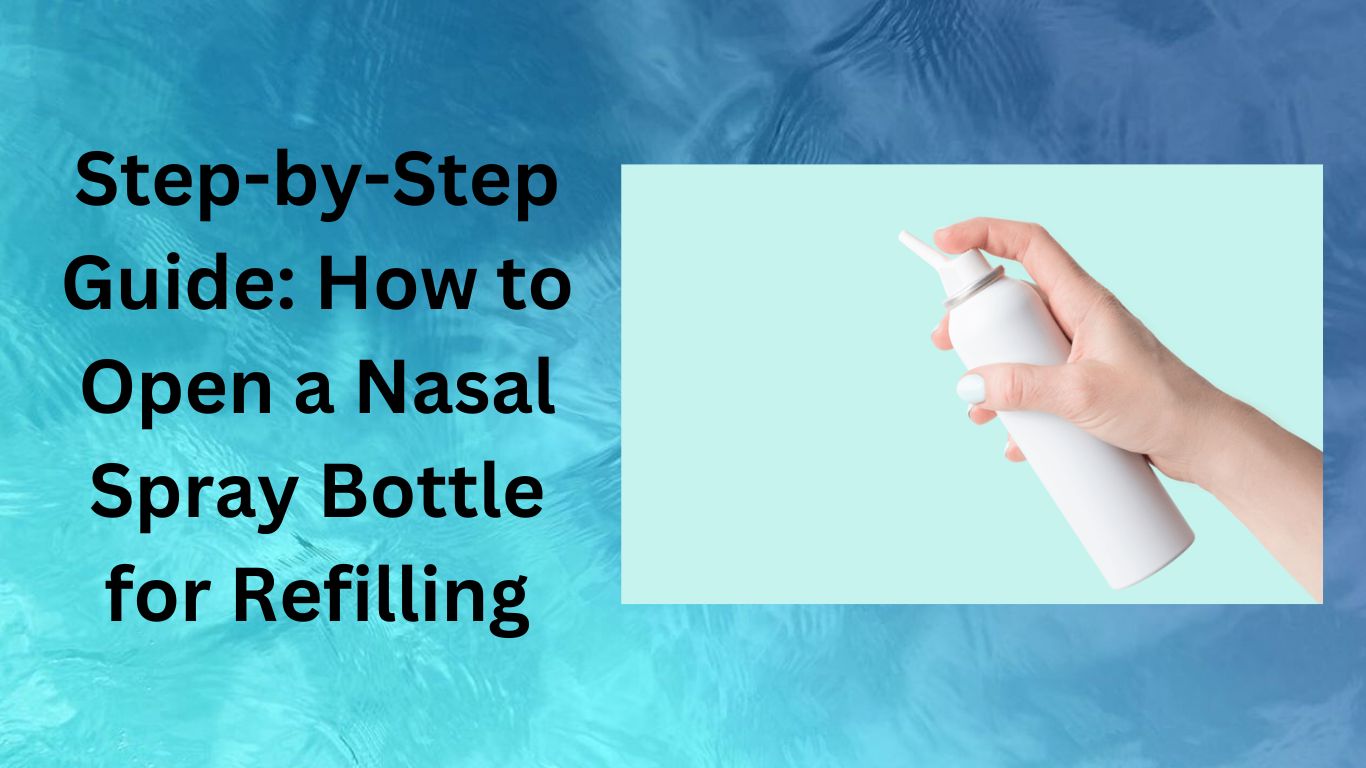
Refilling a nasal spray bottle can be a cost-effective and environmentally friendly way to ensure you always have your preferred nasal spray on hand. Here’s a step-by-step guide on how to open a nasal spray bottle for refilling:
Materials You’ll Need:
Empty nasal spray bottle
New nasal spray solution or medication
A clean and well-lit workspace
A small funnel (optional)
A clean tissue or paper towel
Step 1: Gather Your Materials
Gathering your materials is the first step in refilling a nasal spray bottle. Here’s how to do it:

Identify the Required Materials
Determine what you need based on your specific nasal spray refilling task. Generally, you will need the following items:
An empty nasal spray bottle: Ensure it is clean and free from any residue or contaminants from previous use.
New nasal spray solution or medication: This should be the solution or medication you want to refill the bottle with. Make sure it’s unopened and not expired.
A clean and well-lit workspace: Find a clean and well-lit area to work in, preferably near a sink in case of spills.
A small funnel (optional): A funnel can make it easier to pour the new nasal spray solution into the bottle without spills. It’s especially helpful if the bottle’s opening is small.
A clean tissue or paper towel: Keep this nearby to wipe up any spills or to clean the bottle if needed.
Prepare Your Workspace
Clear a space on a clean and dry countertop or table. Make sure you have enough room to work comfortably without any distractions.
Wash Your Hands
Before handling any of the materials, wash your hands thoroughly with soap and warm water to ensure proper hygiene during the refilling process.
Inspect and Prepare the Nasal Spray Bottle
Check the empty nasal spray bottle for any residual medication or contaminants. If you find any, rinse the bottle with warm water and let it air dry. Ensure that the bottle is completely dry before proceeding.
Prepare the New Nasal Spray Solution
If you are refilling with a new nasal spray solution or medication, remove the cap or seal from the new bottle and have it ready for pouring.
Step 2: Wash Your Hands
Washing your hands is a crucial step in maintaining proper hygiene during the nasal spray refilling process. Here’s how to wash your hands effectively:

Gather Supplies
Before starting, make sure you have access to the following items:
Soap: Choose a mild liquid soap, as it’s gentler on the skin.
Warm, Running Water: Ensure the water is comfortably warm, not too hot or too cold.
A Clean Towel or Paper Towel: You’ll need this to dry your hands.
Turn on the Water
Use your elbow or a clean paper towel to turn on the water if you can. This helps prevent contaminating your hands after washing.
Wet Your Hands
Hold your hands under the running water and wet them thoroughly. Ensure that both the front and back of your hands, as well as between your fingers, get wet.
Apply Soap
Dispense a sufficient amount of soap onto your hands. You only need enough to create a good lather.
Rub Your Hands Together
Rub your hands together vigorously for at least 20 seconds. Make sure to clean all areas, including your palms, the backs of your hands, between your fingers, and under your nails. Scrub your hands well to remove dirt, germs, and contaminants.
Count or Sing
To ensure you wash your hands for the recommended 20 seconds, you can count to 20 or sing the “Happy Birthday” song twice while scrubbing.
Rinse Thoroughly
Hold your hands under the running water again to rinse off all the soap. Continue rinsing until all the soap is gone.
Dry Your Hands
Use a clean towel or paper towel to dry your hands thoroughly. Make sure they are completely dry.
Turn Off the Water
If possible, use a paper towel or your elbow to turn off the faucet to avoid recontaminating your clean hands.
Dispose of Used Paper Towel (if applicable)
If you used a paper towel to turn off the faucet or open the door, dispose of it properly in a trash bin.
Step 3: Prepare the New Nasal Spray Solution
Preparing the new nasal spray solution is an important step in refilling your nasal spray bottle. Here’s how to do it:
Gather Your Materials
Ensure you have the following items at hand:
The new nasal spray solution or medication you intend to use for the refill.
The empty nasal spray bottle that you plan to refill.
A clean tissue or paper towel.
Check Expiry Date
Examine the new nasal spray solution or medication to ensure it is within its expiration date. Using expired medication is not safe and may be less effective.
Read Instructions
Review the label or package insert of the nasal spray solution or medication for any specific instructions, dosing information, or storage recommendations. Follow these instructions carefully.
Remove Protective Seal or Cap
If there is a protective seal or cap on the new nasal spray solution bottle, remove it. Some bottles may have a tamper-evident seal, so ensure it’s intact before use.
Inspect the Solution
Visually inspect the nasal spray solution for any abnormalities, such as discoloration, particles, or an unusual odor. If you notice anything unusual, do not use the solution, and consult with a healthcare professional.
Shake (if necessary)
Some nasal spray solutions may require shaking before use. If indicated on the label, gently shake the solution as per the instructions. Be cautious not to shake it vigorously, as this may introduce air bubbles.
Prepare for Pouring
Hold the nasal spray solution bottle with the nozzle facing downwards, ready to pour it into the empty nasal spray bottle. Ensure a stable surface for pouring, such as a clean and dry countertop.
Pour the Solution
Carefully pour the nasal spray solution into the empty nasal spray bottle. You can do this by tilting the solution bottle and directing the stream of liquid into the opening of the empty bottle.
Fill to the Appropriate Level
Fill the nasal spray bottle to the recommended level, usually indicated by markings on the bottle or according to your prescription instructions. Be cautious not to overfill, as it can affect the spray mechanism.
Wipe the Bottle Clean
Use a clean tissue or paper towel to wipe any excess solution from the bottle’s exterior or nozzle.
Secure the Cap or Pump
If your nasal spray bottle has a removable pump, reattach it securely to the bottle. Ensure a snug fit to prevent leaks.
Label the Refilled Bottle
Write down the name of the medication, the date of refill, and any other relevant information on a label or directly on the bottle. This helps you keep track of what’s inside and when it was last refilled.
Step 4: Inspect the Empty Nasal Spray Bottle
Inspecting the empty nasal spray bottle is an important step to ensure it is clean and free from any residual medication or contaminants before refilling. Here’s how to do it:
Gather Your Materials
Ensure you have the following items ready:
The empty nasal spray bottle that you intend to refill.
Adequate lighting to see inside the bottle.
A sink with access to warm water (optional).
Choose a Well-Lit Area
Find a clean and well-lit workspace where you can comfortably inspect the empty nasal spray bottle.
Wash Your Hands
Before handling the empty bottle, wash your hands thoroughly with soap and warm water. This step helps prevent introducing contaminants into the bottle.
Check the Exterior
Examine the exterior of the empty nasal spray bottle for any visible residue, dust, or dirt. Wipe away any debris with a clean tissue or paper towel.
Inspect the Nozzle and Pump (if applicable)
If the nasal spray bottle has a removable pump, examine the nozzle and pump for any residue or clogs. You can use a small brush or a pipe cleaner to gently clean the nozzle if needed.
Examine the Inside
Carefully look inside the bottle to check for any leftover nasal spray solution, particles, or foreign objects. Make sure to inspect both the bottom and the sides of the bottle.
Rinse (if necessary)
If you notice any residue or contaminants inside the bottle, you can rinse it with warm water. Hold the bottle under warm running water and swish the water around inside to remove any remaining residue. Be cautious not to get the pump wet, as it may damage it. Allow the bottle to air dry completely.
Reinspect
After rinsing and drying, inspect the inside of the bottle once more to ensure it is clean and free from any contaminants.
Verify the Pump (if applicable)
If you removed the pump for cleaning, verify that it is also clean and free from any obstructions.
Prepare for Refilling
With the empty nasal spray bottle now clean and dry, you can proceed with refilling it with the new nasal spray solution or medication.
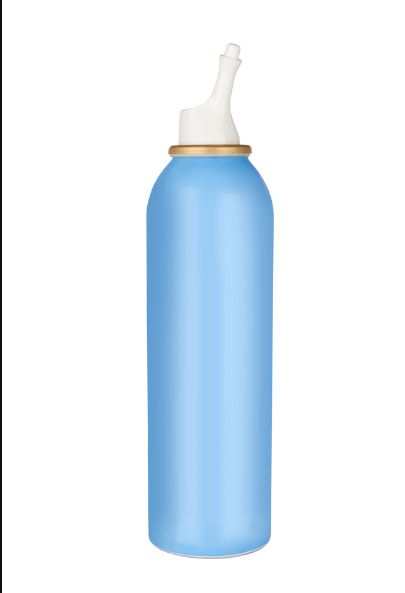
Step 5: Remove the Spray Pump
Removing the spray pump is a necessary step in the process of refilling a nasal spray bottle. Here’s how to do it:
Ensure a Clean Workspace
Start by working in a clean and well-lit area to maintain proper hygiene during the process.
Wash Your Hands
Before handling the nasal spray bottle, wash your hands thoroughly with soap and warm water. This helps prevent any contamination during the process.
Identify the Spray Pump
Locate the spray pump on your nasal spray bottle. It’s usually the top part of the bottle, where the nozzle is located.
Inspect the Spray Pump
Before removal, visually inspect the spray pump for any visible dirt, residue, or damage. Ensure that it is in good condition and suitable for reuse. If you notice any issues, consider cleaning or replacing the pump as needed.
Find the Notch or Seam
Most nasal spray bottles are designed with a small notch or seam that allows you to separate the spray pump from the bottle. Look closely at the base of the pump to find this feature.
Hold the Bottle Securely
Grasp the body of the nasal spray bottle firmly in one hand to stabilize it.
Twist or Pry Open the Pump
Using your other hand, gently twist or pry open the spray pump from the bottle. You may need to apply slight pressure or twist it counterclockwise, depending on the design. Be patient and cautious to avoid damaging the pump or the bottle.
Detach the Pump
Once you’ve successfully released the spray pump, carefully lift it away from the bottle. Keep it in a clean and safe place, as you’ll need to reattach it after refilling.
Inspect the Bottle Neck
After removing the pump, inspect the neck of the nasal spray bottle to ensure it’s clean and free from any residual medication or contaminants. If necessary, rinse the bottle with warm water and let it air dry.
Prepare for Refilling
With the pump removed and the bottle inspected and cleaned, you’re now ready to proceed with refilling the nasal spray bottle with the new solution or medication.
Step 6: Fill the Bottle
Filling the nasal spray bottle is a critical step in the refilling process. Here’s how to do it:

Prepare Your Materials
Ensure you have the following materials ready:
The empty nasal spray bottle with the pump removed.
The new nasal spray solution or medication you want to refill the bottle with.
A small funnel (optional, but helpful).
A clean tissue or paper towel.
Choose a Clean Workspace
Work in a clean and well-lit area to maintain hygiene and minimize the risk of contamination.
Wash Your Hands
Before handling the nasal spray bottle or the new solution, wash your hands thoroughly with soap and warm water. This helps prevent any contamination during the process.
Prepare the New Solution
Ensure that the new nasal spray solution or medication is ready for pouring. Remove any seals or caps as necessary.
Insert a Funnel (Optional)
If you have a small funnel, insert it into the opening of the empty nasal spray bottle. This will help you pour the new solution into the bottle more accurately and with minimal spillage. If you don’t have a funnel, proceed to the next step but pour the solution carefully.
Pour the Solution
Hold the new nasal spray solution bottle over the open nasal spray bottle. If you’re using a funnel, pour the solution through the funnel into the empty bottle. If you’re pouring directly, tilt the solution bottle and carefully pour the solution into the empty bottle’s opening. Pour slowly and steadily to avoid spills.
Fill to the Recommended Level
Fill the nasal spray bottle to the recommended level indicated by markings on the bottle or according to your prescription instructions. Do not overfill, as this can affect the spray mechanism. If you accidentally overfill, you can use a clean tissue or paper towel to absorb the excess solution.
Remove the Funnel (if used)
If you used a funnel, carefully remove it from the bottle’s opening.
Wipe the Bottle Clean
Use a clean tissue or paper towel to wipe any solution that may have dripped on the bottle’s exterior or nozzle.
Inspect the Filled Bottle
Check the filled bottle to ensure there are no air bubbles trapped in the solution. Gently tap the bottom of the bottle on a solid surface to dislodge any air bubbles if necessary.
Prepare for Reassembly
With the bottle filled, you’re now ready to reattach the spray pump, so you can test the spray and properly seal the bottle.
Step 7: Reattach the Spray Pump
Reattaching the spray pump is a crucial step in the process of refilling a nasal spray bottle. Here’s how to do it:
Prepare Your Workspace
Begin by working in a clean and well-lit area to ensure proper hygiene and minimize the risk of contamination.
Wash Your Hands
Before handling the nasal spray pump or the bottle, wash your hands thoroughly with soap and warm water. This helps prevent any contamination during the process.
Inspect the Pump
Before reattaching the pump, give it a quick inspection to ensure it’s clean and in good condition. Check that the nozzle is clear and free from any residue.
Inspect the Bottle Neck
Also, check the neck of the nasal spray bottle to ensure it’s clean and free from any residual medication or contaminants. If necessary, rinse the bottle with warm water and let it air dry.
Align the Pump
Hold the empty nasal spray bottle firmly in one hand, making sure it’s stable.
Align the Notches or Seams
Examine the pump and the bottle to locate the notches or seams that allow you to attach the pump to the bottle. These notches or seams are usually near the base of the pump.
Position the Pump
Carefully position the pump over the neck of the bottle, aligning the notches or seams on the pump with those on the bottle.
Gently Twist or Press
With the pump in the correct position, gently twist or press down on the pump. The pump should easily slide into place. You may need to apply slight pressure or twist it clockwise, depending on the design.
Secure the Pump
Once the pump is fully attached, make sure it’s secure and snug. Ensure there are no gaps or loose connections between the pump and the bottle.
Test the Pump
Before using the refilled nasal spray, test the pump by spraying a few times into the air to ensure it’s functioning correctly. This helps ensure that the pump is properly connected and that the spray dispenses as expected.
Wipe Excess Solution (if any)
Use a clean tissue or paper towel to wipe away any excess solution that may have dripped around the pump or on the bottle’s exterior.
Label the Bottle
To keep track of the contents and the date of refill, label the nasal spray bottle with the name of the medication, the refill date, and any other relevant information.
Step 8: Test the Spray
Testing the spray is an essential step after refilling a nasal spray bottle to ensure that it’s functioning correctly and delivering the medication properly. Here’s how to do it:

Prepare Your Workspace
Continue working in a clean and well-lit area to maintain proper hygiene and minimize the risk of contamination.
Wash Your Hands
Before using the nasal spray, wash your hands thoroughly with soap and warm water to prevent any contamination.
Shake the Bottle (if necessary)
Some nasal spray medications require shaking before use. If indicated on the label or by your healthcare provider, gently shake the refilled nasal spray bottle. Be cautious not to shake it vigorously, as this may introduce air bubbles.
Prime the Pump (if needed)
If it’s the first time you’re using the refilled nasal spray bottle or if you haven’t used it for a while, it may be necessary to prime the pump. Priming ensures that the spray is ready for use. Follow these steps to prime the pump:
Remove the protective cap (if present) from the nozzle.
Hold the bottle upright.
Pump the spray a few times into the air by pressing down on the pump. This primes the pump and removes any air from the nozzle.
Test the Spray
Point the nozzle away from your face and any other people. Press down on the pump to release a spray of the solution into the air. Observe the spray pattern and ensure it forms a fine mist or spray as expected.
Inspect the Spray Pattern
As you test the spray, pay attention to the following aspects:
The spray should be a fine mist or spray, not a stream or droplets.
It should be evenly distributed, with no signs of clogging or irregularities.
There should be no sputtering or hissing sounds when you press the pump.
Repeat the Test
Test the spray a few more times to confirm that it consistently delivers the medication properly.
Observe for Leaks
While testing the spray, also check for any leaks or drips around the nozzle or pump connection. If you notice any leaks, try tightening the pump or inspect for any loose parts.
Adjust as Needed
If the spray doesn’t perform as expected or if you encounter any issues, refer to the manufacturer’s instructions or consult with your healthcare provider for guidance on troubleshooting.
Replace the Protective Cap (if present)
Once you’ve successfully tested the spray, replace the protective cap on the nozzle to keep it clean and prevent contamination.
Step 9: Label the Bottle
Labeling the nasal spray bottle is an important step to keep track of its contents and the date of the refill. Here’s how to label the bottle:
Gather Your Materials
Have a pen or marker and a clear label or a piece of tape ready.
Choose a Suitable Labeling Area
Identify a clean and dry area on the bottle where you can affix the label. It’s usually best to choose a spot that won’t interfere with the spray pump or obstruct important markings on the bottle.
Write Important Information
On the label or the tape, write down the following information:
Name of the Medication
Clearly write the name of the nasal spray medication or solution.
Date of Refill: Note the date when you refilled the bottle.
Dosage or Concentration (if applicable): Include any specific dosage information or concentration as per your prescription.
Additional Instructions: If your healthcare provider has provided specific instructions for use, include them on the label.
Affix the Label
Stick the label or tape with the written information onto the chosen area of the nasal spray bottle. Ensure that it adheres securely.
Check for Clarity
Make sure that the information on the label is legible and clear. If necessary, use a larger label or write more prominently.
Protect the Label
If the label is made of paper and may be exposed to moisture, consider covering it with a clear adhesive tape to protect it from smudging or getting damaged.
Additional Information
If there are other important details related to the medication or its use, such as storage instructions or expiry date, you may include them on the label.
Store the Bottle Properly
After labeling, store the nasal spray bottle in a cool, dry place as per the storage instructions provided with the medication.
Step 10: Store Properly
Proper storage of your refilled nasal spray bottle is crucial to maintain the effectiveness and safety of the medication. Here’s how to store it correctly:

Check Storage Instructions
Review any specific storage instructions provided on the label of the nasal spray solution or medication. Follow these instructions if they are available, as they may contain medication-specific recommendations.
Choose the Right Location
Select a suitable storage location for your nasal spray bottle. Consider the following factors:
Temperature: Store the bottle at room temperature unless otherwise specified on the medication label. Avoid exposure to extreme heat or cold, as it can affect the stability of the medication.
Direct Sunlight: Keep the bottle away from direct sunlight, as UV rays can degrade some medications.
Moisture: Protect the bottle from excessive moisture or humidity. The bathroom, for example, is not an ideal storage location due to high humidity.
Accessibility: Store the bottle in a place that is easily accessible but out of reach of children or pets.
Keep the Bottle Upright
Store the nasal spray bottle in an upright position. This helps ensure that the medication remains evenly distributed and that the spray pump functions correctly.
Secure the Cap or Nozzle
If your nasal spray bottle has a protective cap or nozzle cover, make sure it is securely in place to prevent contamination and evaporation of the solution.
Store Away from Food and Beverages
Avoid storing the nasal spray near food or beverages to prevent accidental ingestion.
Label Visibility
Ensure that the label you affixed in the previous step (Step 9) is visible and legible. This allows you to quickly identify the medication and its expiration date.
Keep It Separate
Store the nasal spray bottle separately from other medications to prevent mix-ups.
Check Expiry Date
Regularly check the expiration date on the medication label. Dispose of the nasal spray if it has passed its expiration date, even if it hasn’t been fully used.
Keep Records
Consider keeping a record of the date of refill and the date you opened the nasal spray bottle. This can help you track the shelf life of the medication.
Monitor for Changes
Periodically inspect the nasal spray bottle for any changes in color, consistency, or odor of the solution. If you notice any unusual changes, consult with your healthcare provider or pharmacist before using it.
Conclusion
In conclusion, mastering the art of opening a nasal spray bottle for refilling is a practical skill that can save both time and money while contributing to a more sustainable approach to personal healthcare. This step-by-step guide has walked you through the process, emphasizing safety, cleanliness, and precision. By following these instructions carefully and using the right tools, you can confidently refill your nasal spray bottles, ensuring that you always have the relief you need on hand. Remember, practice makes perfect, and with time, you’ll become adept at this task, making it a routine part of your self-care regimen. So, take a deep breath, follow the steps, and enjoy the benefits of a cost-effective and eco-friendly approach to nasal spray usage.