Table of Contents
Having trouble with a water bottle that’s difficult to drink from due to suction issues? Here are 10 potential solutions to help you overcome this problem:
Loosen the Cap or Lid
Loosening the cap or lid on your water bottle is a simple yet effective solution to alleviate suction problems. Here’s how you can do it:
Twist to Loosen
Hold the water bottle securely, and twist the cap or lid counterclockwise to loosen it. Be careful not to unscrew it completely to avoid spills.
Test the Suction
After loosening the cap, try drinking from the bottle to see if the suction has decreased. If the issue persists, you may need to loosen it a bit more.
Adjust as Needed
Fine-tune the looseness of the cap based on your comfort and the desired flow of liquid. Experiment until you find the right balance between preventing leaks and reducing suction.
Monitor Spills
Be aware that loosening the cap too much may result in spills, especially if the bottle is tipped over. Consider adjusting your drinking technique to accommodate the loosened cap.
Tighten Securely After Use
Once you’re done drinking, make sure to tighten the cap or lid securely to prevent leaks during storage or transportation.
Check for Seal Damage
While loosening the cap can help with suction, make sure the bottle’s seal is intact. If the seal is damaged or missing, it may affect the overall performance of the bottle.

Poke a Hole
“Poking a hole” in the context of fixing water bottle suction issues involves creating a small opening near the cap to allow air to flow more freely. Here’s a step-by-step guide on how to do it:
Gather Necessary Tools
Find a small, sharp object such as a pin, needle, or safety pin. Ensure that it’s clean and sanitized.
Identify a Suitable Location
Examine your water bottle and choose a spot near the cap or lid where you can safely poke a hole. The area should not compromise the structural integrity of the bottle.
Clean the Chosen Spot
Wipe the chosen spot with a clean cloth or tissue to ensure it’s free of dirt or debris. This helps prevent contaminants from entering the bottle.
Poke the Hole
Gently insert the pin or needle into the chosen spot, creating a small hole. Be careful not to puncture the bottle excessively, and avoid damaging any internal components.
Test the Suction
Try drinking from the bottle to see if the suction has improved. The hole should allow air to enter, reducing the vacuum effect that makes it difficult to drink.
Adjust if Necessary
If the suction is still too strong or if the flow is too fast, you can experiment with the size of the hole. You may create a slightly larger opening if needed.
Monitor for Leaks
Be mindful of potential leaks. While the hole should help with suction, it may also allow liquid to escape more easily. Adjust the size of the hole accordingly.
Seal or Cover the Hole
If the hole is too large or if you want to revert to the original design, you can seal it using tape or a food-grade adhesive. Ensure that the seal is secure to prevent leaks.
Squeeze the Bottle
“Squeezing the bottle” is a technique that involves gently applying pressure to the sides or base of the water bottle while drinking. This method helps create a temporary change in the internal pressure, allowing the liquid to flow more easily and reducing suction. Here’s a step-by-step guide on how to do it:
Hold the Bottle Securely
Grasp the water bottle firmly, ensuring that you have a good grip on it.
Identify Squeeze Points
Determine where on the bottle you can apply gentle pressure. Typically, this involves squeezing the sides or the base.
Start Drinking
Begin drinking from the bottle while simultaneously applying gentle pressure to the identified squeeze points. The goal is to create a slight deformation in the bottle’s shape.
Experiment with Pressure
Adjust the amount of pressure you’re applying based on your comfort and the desired flow of liquid. You may need to experiment to find the right balance.
Release Pressure as Needed
If you feel the flow is too fast or if you encounter any difficulties, release the pressure slightly. This technique allows you to control the flow of the liquid.
Practice Tilting the Bottle
Combine the squeezing technique with tilting the bottle at different angles. This can further modify the flow dynamics and make it easier to drink.
Avoid Over-Squeezing
Be cautious not to squeeze the bottle too hard, as this could lead to spills or distort the bottle’s shape permanently. The goal is to create a temporary change in pressure.
Monitor for Leaks
Keep an eye out for any leaks that may occur due to the squeezing. If leaks are a concern, adjust the pressure or consider alternative solutions.

Modify the Straw
Modifying the straw of your water bottle can be an effective solution to reduce suction issues. Here’s a step-by-step guide on how to modify the straw to make drinking easier:
Remove the Straw
If your water bottle has a removable straw, carefully take it out.
Trim the Straw
Using a pair of scissors, trim the straw slightly to make it shorter. Start with a small cut, as you can always trim more if needed.
Test the Suction
Reinsert the modified straw into the bottle and test the suction. The goal is to find a length that allows for easier liquid flow.
Adjust as Necessary
If the suction is still too strong, continue trimming the straw in small increments until you achieve the desired flow. Be cautious not to cut too much at once.
Observe for Leaks
Keep an eye out for any leaks that may occur due to the modified straw. If leaks are a concern, consider adjusting the length or trying alternative solutions.
Consider a Wider Straw
If trimming the straw doesn’t resolve the suction issue, you may try using a wider straw. A wider opening allows for increased airflow, making it easier to drink.
Clean the Straw
Ensure that the modified straw is clean and free of any debris or plastic remnants from the trimming process.
Reassemble the Bottle
Once you are satisfied with the modified straw, reassemble the water bottle. Make sure all parts are securely in place.
Use a Straw
Using a straw is a straightforward solution to reduce suction issues when drinking from a water bottle. Here’s a step-by-step guide on how to use a straw to make the drinking process easier:
Select a Straw
Choose a straw that is appropriate for your water bottle. Ensure that it’s long enough to reach the bottom of the bottle and wide enough for the liquid to flow easily.
Insert the Straw
If your water bottle has a built-in straw, use it as is. If not, insert the chosen straw into the bottle through the opening.
Ensure Proper Placement
Make sure the straw is positioned correctly, reaching the bottom of the bottle and sitting securely in any straw attachment points.
Sip Through the Straw
Instead of drinking directly from the bottle, sip through the straw. This method minimizes the amount of effort required to overcome suction.
Experiment with Angles
Adjust the angle of the bottle and the straw to find the most comfortable and effective position for drinking. Sometimes, a slight tilt can help with liquid flow.
Consider a Wider Straw
If you’re still experiencing suction issues, try using a wider straw. A wider opening allows for increased airflow, making it easier to drink.
Clean the Straw Regularly
To maintain hygiene, clean the straw regularly. If it’s a reusable straw, follow the manufacturer’s instructions for proper cleaning.
Monitor for Leaks
Keep an eye out for any potential leaks around the straw insertion point. If leaks occur, ensure that the straw is properly sealed and consider adjusting the angle or trying a different straw.

Tilt the Bottle
Tilting the water bottle while drinking is a practical technique to overcome suction problems. Here’s a step-by-step guide on how to tilt the bottle effectively:
Hold the Bottle Securely
Grip the water bottle securely with one hand, ensuring that you have a firm hold.
Identify a Comfortable Angle
Tilt the bottle at a slight angle while keeping the opening accessible for drinking. Experiment with different angles to find what works best for you.
Position the Opening
Make sure the bottle’s opening is positioned in a way that allows air to enter while you drink. This helps reduce suction and allows for a smoother flow of liquid.
Begin Drinking
Start sipping from the bottle while maintaining the tilted position. The angle helps change the dynamics of liquid flow and minimizes suction.
Adjust the Tilt
Depending on the bottle’s design and the level of suction you’re experiencing, you may need to adjust the tilt to find the optimal angle for easy drinking.
Combine with Other Techniques
If tilting alone doesn’t completely resolve the suction issue, consider combining this technique with others, such as squeezing the bottle or using a straw.
Be Mindful of Leaks
While tilting the bottle, be cautious of potential leaks, especially if the cap is not tightly secured. Adjust the tilt and your drinking technique to minimize the risk of spills.
Experiment for Comfort
Experiment with different angles and drinking speeds to find the most comfortable and effective way to drink from the tilted bottle.
Choose a Different Cap
Choosing a different cap for your water bottle is a practical solution to address suction problems. Here’s a step-by-step guide on how to select and use a different cap:
Check for Interchangeable Caps
Determine if your water bottle has interchangeable caps. Some bottles come with multiple cap options, such as a sports cap or a flip-top cap.
Select a Cap with Better Airflow
Choose a cap that is designed to allow better airflow. Sports caps, for example, often have a valve that facilitates air intake, reducing suction when drinking.
Remove the Current Cap
If your water bottle has a cap that can be replaced, unscrew or remove the existing cap carefully.
Attach the New Cap
Securely attach the chosen cap to the bottle. Ensure that it is tightly sealed to prevent leaks.
Test the Suction
Drink from the bottle with the new cap to see if the suction has improved. The design of the cap should allow for easier airflow during consumption.
Adjust as Needed
If the suction is still problematic, experiment with other available caps or consider trying different techniques, such as tilting the bottle or using a straw.
Monitor for Leaks
Keep an eye out for any potential leaks that may occur with the new cap. Tighten the cap further if necessary to prevent spills.
Consider Specialty Caps
Some water bottles have specialty caps designed specifically to enhance the drinking experience. Explore options like anti-suction caps or caps with built-in straws.
Check Manufacturer Recommendations
Review the manufacturer’s instructions and recommendations regarding cap usage. Some bottle
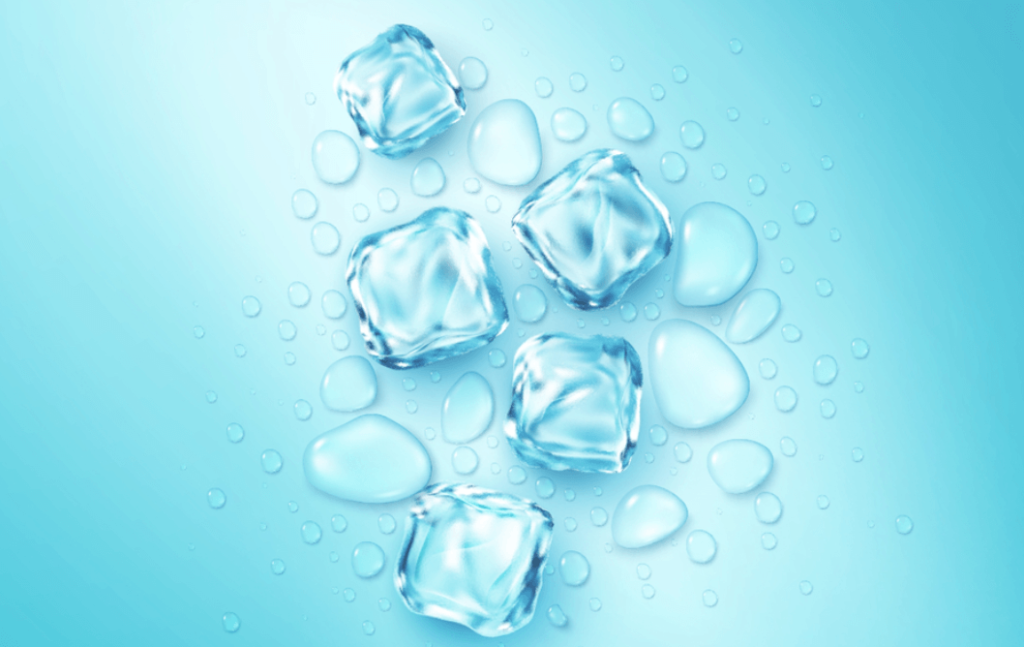
Add Ice Cubes
Adding ice cubes to your water bottle can be a simple and effective solution to reduce suction problems. Here’s a step-by-step guide on how to use ice cubes for this purpose:
Select Small Ice Cubes
Choose small-sized ice cubes that can easily fit through the opening of your water bottle. Smaller ice cubes can help create space for airflow.
Check Bottle Capacity
Ensure that your water bottle has enough space to accommodate both the liquid and the added ice cubes without causing spills.
Insert Ice Cubes
Drop the ice cubes into the water bottle. Be mindful not to overfill the bottle, as this could lead to excessive suction and potential spills.
Monitor Temperature
Pay attention to the temperature of the drink. Adding ice cubes not only helps reduce suction but also keeps the beverage cooler, enhancing your overall drinking experience.
Start Drinking
Drink from the bottle, and you should notice that the presence of ice cubes creates more space for air to flow, minimizing the suction effect.
Tilt the Bottle
Combine the ice cubes with tilting the bottle at a slight angle while drinking. This can further enhance the effectiveness of reducing suction.
Experiment with Ice Quantity
Depending on your preferences and the size of your water bottle, experiment with the number of ice cubes. Adjust the quantity to achieve the desired balance between cooling and reduced suction.
Be Cautious of Melting
Keep in mind that the ice cubes will eventually melt, potentially changing the dynamics of the drink. Adjust your drinking technique as needed to accommodate melting ice.
Opt for a Sports Cap
Opting for a sports cap is a practical solution to reduce suction problems when drinking from a water bottle. Here’s a step-by-step guide on how to choose and use a sports cap:
Check for Compatibility
Verify if your water bottle is compatible with sports caps. Some bottles have interchangeable caps, while others come with a specific cap type.
Purchase a Sports Cap
If your bottle is compatible, purchase a sports cap designed for your specific bottle model. Sports caps typically have features like a valve that facilitates easier airflow.
Remove the Current Cap
If your water bottle has a cap that can be replaced, unscrew or remove the existing cap carefully.
Attach the Sports Cap
Securely attach the sports cap to the bottle. Ensure that it is tightly sealed to prevent leaks.
Test the Suction
Drink from the bottle with the new sports cap to see if the suction has improved. The design of sports caps is often intended to allow better airflow during consumption.
Adjust as Needed
If the suction is still problematic, consider trying different sports caps if available, or explore other solutions like modifying the straw, squeezing the bottle, or using a straw.
Monitor for Leaks
Keep an eye out for any potential leaks that may occur with the sports cap. Tighten the cap further if necessary to prevent spills.
Explore Additional Features
Some sports caps come with additional features such as flip-top lids or built-in straws. Explore these features to find the most comfortable and effective drinking setup.
Clean the Sports Cap
Regularly clean the sports cap according to the manufacturer’s instructions to maintain hygiene and ensure proper functionality.
Upgrade Your Bottle
If you’re facing persistent suction problems with your current water bottle, upgrading to a different bottle with a design that minimizes suction issues can be a practical solution. Here’s a guide on how to choose and upgrade your water bottle:
Identify Suction-Reducing Features
Look for water bottles with features specifically designed to minimize suction, such as sports caps, built-in straws, or wide-mouth openings.
Research Bottle Designs
Explore different water bottle designs and read reviews to find ones that are known for providing a smooth and easy drinking experience without excessive suction.
Consider Built-in Straws
Bottles with built-in straws often have a design that reduces suction. Consider upgrading to a bottle with this feature if you find it comfortable.
Evaluate Sports Caps
Bottles with sports caps are designed for easy and quick drinking, often minimizing the suction effect. Consider a bottle with a sports cap if you prefer this type of design.
Choose Wide-Mouth Bottles
Bottles with wider openings generally allow for better airflow, reducing suction. Consider a bottle with a wide-mouth design for a more comfortable drinking experience.
Check Valve Mechanisms
Some bottles have valve mechanisms that help regulate air intake and reduce suction. Explore bottles with such mechanisms for an improved drinking experience.
Visit a Specialty Store
Visit a store that specializes in outdoor or sports gear. These stores often carry a variety of water bottles with different designs catering to specific needs, including reduced suction.
Read User Reviews
Read user reviews online to get insights into the experiences of others with specific water bottle models. Look for feedback related to suction issues.
Consider Material and Insulation
Besides the design, consider the material and insulation properties of the bottle. Some materials may affect suction, and insulated bottles may have different flow dynamics.
Try Before Purchasing
If possible, try drinking from the bottle or read customer reviews specifically addressing suction issues before making a purchase.
Conclusion
In conclusion, addressing water bottle suction problems involves a variety of practical solutions. Whether it’s loosening the cap, modifying the straw, using a sports cap, or opting for a different bottle design, these solutions offer versatility to cater to individual preferences. Simple adjustments like tilting the bottle, squeezing it, or adding ice cubes can make a significant difference. Each solution presented aims to enhance the overall drinking experience, providing options for users to choose based on their specific needs. By experimenting with these 10 solutions, individuals can find a personalized approach to overcome water bottle suction issues and enjoy a more convenient and enjoyable hydration experience.
For more blogs visit our website bottlemore.com